Introduction to Autodesk Maya
By Miguel Miranda , 3D modeler
Learn 3D modeling from scratch and master the most-used software in cinema, animation, and advertising
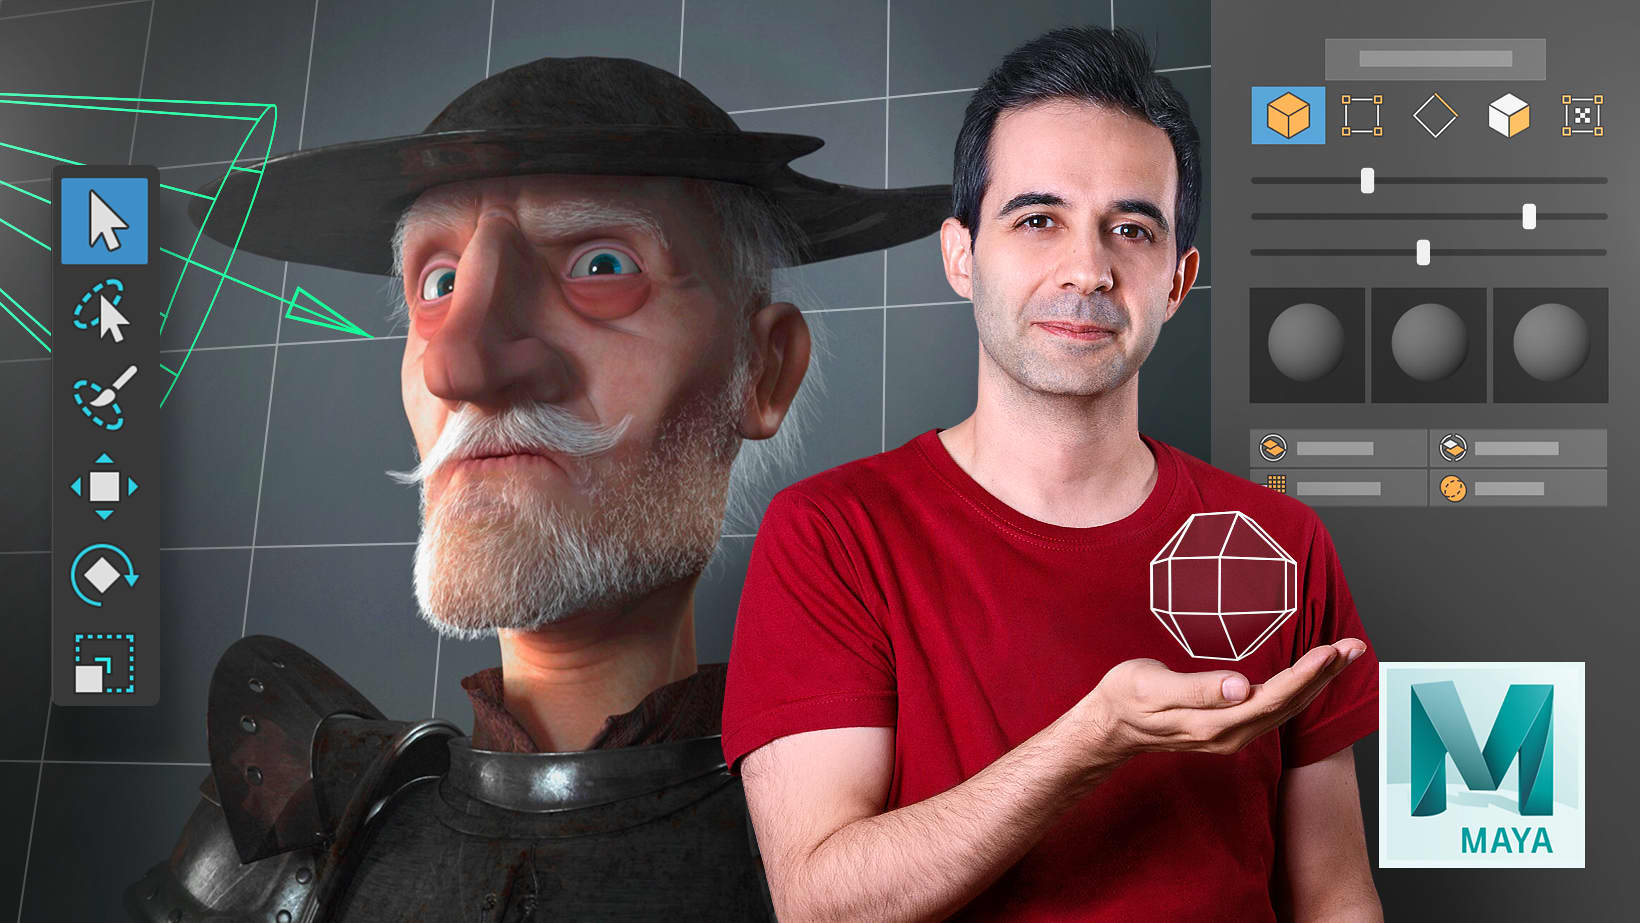
Learn 3D modeling from scratch and master the most-used software in cinema, animation, and advertising
Domestika Basics · 6 courses included
-
Course 1 – First Approach to Maya
By Miguel Miranda
Get to know the work environment and create your first animation
-
Course 3 – Modeling a Basic Character
By Miguel Miranda
Learn the basic fundamentals in topology and start modeling a character
-
Course 4 – Correct Topology for Animation
By Miguel Miranda
Discover all the tools and basic fundamentals to start animating
-
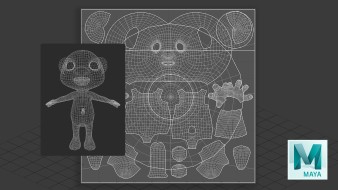
Course 5 – UVs: Displaying and Understanding
By Miguel Miranda
Begin to understand UVs, learn how to place them, and create UVs for a character
-
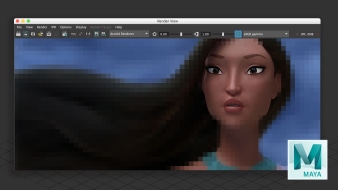
Course 6 – Render and Facial Expressions
By Miguel Miranda
Create lights and renders in a scene, and learn how to use blendShapes on your character
If you are passionate about 3D and want to start modeling objects and characters, it's time to master Autodesk Maya, the most widely used 3D software. In this six-course Domestika Basics, accompany 3D modeler Miguel Miranda as he teaches you how to use all the tools that Maya offers from scratch and goes over techniques to model characters, create materials and lights, and render a scene.
Start by familiarizing yourself with the work environment. Get a feel for the software by learning how the menus and tools are organized. Create your first camera and 3D object to start experimenting with the program. In addition, learn how to use the timeline.
In the second course, dive deeper into all of the tools needed for modeling. Familiarize yourself with two essential menus, Mesh and Edit Mesh. Then, make your first model, as well as an asset for a character.
Set up a scene and learn how to clean up geometry in Maya. Get to know and understand smooth shapes in 3D, and learn the basic concepts of topology. Later on, learn how to use the brushes to sculpt your first character in a simple way.
Afterwards, focus on working on the parts and features of the character, getting it ready for production. Familiarize yourself with the fundamentals of topology for 3D animation by practicing with the basic tools and understanding the importance of axes and directions.
Start the fifth course by learning about the correct pipeline to finish a character. Learn what UVs are and how to unfold them and place them correctly so that you can make UVs or map out your character.
In the final course, create scene lights and a rendering in Arnold to render your 3D objects and characters and present them once they are modeled. In addition, discover different textures and how to apply them. Finally, learn how to make blendShapes to finish up the face of your character.
Technical Requirements
- ⦁ A computer with Windows or macOS.
⦁ Autodesk Maya, 2017 version—if you don't have this downloaded, remember you can use the trial version.
⦁ A graphics tablet is recommended.
- 95% positive reviews (529)
- 21,468 students
- 56 lessons (8h 39m)
- 6 courses
- 33 downloads (22 files)
- Online and at your own pace
- Available on the app
- Audio: Spanish
- Spanish · English · Portuguese · German · Italian · French · Polish · Dutch
- Level: Beginner
- Unlimited access forever
Reviews

Miguel Miranda has been a 3D artist for the past ten years, specializing in 3D character creation. He has modeled characters for advertising, film, video game cinematics, video games, and cartoons.
Throughout his career, he has worked for various studios and currently works as a modeler at 23lunes Animation Studio and on privately commissioned projects.
Content
Course 1 – First Approach to Maya
-
U1
Welcome
-
Welcome
-
-
U2
Introduction to Maya: Work Environment
-
Introduction to Maya: Work Environment
-
-
U3
Browse the 3D environment. 3D cameras and objects
-
Browse the 3D environment. 3D cameras and objects.
-
-
U4
Create the first 3D object. How to move and modify it
-
Create the first 3D object. How to move and modify it
-
-
U5
Basic hardsurface
-
Basic hardsurface
-
-
U6
Create 3D text. Polygon tool
-
Create 3D text: Polygon tool
-
-
U7
Layers and Selections
-
Layers and Selections
-
-
U8
Hypershade: materials
-
Hypershade: materials
-
-
U9
Animation
-
Animation
-
-
U10
Practice: puzzle
-
Practice: puzzle
-
Course 2 – Modeling a 3D Object
-
U1
Welcome
-
Welcome
-
-
U2
Delete and delete: differences. Multicut and merge
-
Delete and delete: differences. Multicut and merge
-
-
U3
Modeling Toolkit: extrude, bevel, connect, quad Draw
-
Modeling Toolkit: extrude, bevel, connect, quad Draw
-
-
U4
Modeling tools: smooth, bridge, append ...
-
Modeling tools: smooth, bridge, append ...
-
-
U5
Duplicate, combine and separate objects
-
Duplicate, combine and separate objects
-
-
U6
Soft selection
-
Soft selection
-
-
U7
Deformers
-
Deformers
-
-
U8
Mesh and Edit Mesh menus
-
Mesh and Edit Mesh menus
-
-
U9
Use MASH to create a necklace
-
Use MASH to create a necklace
-
-
U10
Practice: model sword
-
Practice: model sword
-
Course 3 – Modeling a Basic Character
-
U1
Welcome
-
Welcome
-
-
U2
Scene cleaning and geometry. Groups Custom shelf
-
Scene cleaning and geometry. Groups Custom shelf
-
-
U3
Basic Fundamentals in Topology 1
-
Basic Fundamentals in Topology 1
-
-
U4
Subdivision surfaces: smooth mesh preview
-
Subdivision surfaces: smooth mesh preview
-
-
U5
Scales. Measure tools
-
Scales. Measure tools
-
-
U6
Image plane
-
Image plane
-
-
U7
Maya's sculpted menu
-
Maya's sculpted menu
-
-
U8
Content Browser
-
Content Browser
-
-
U9
Practice: character
-
Practice. Character_1
-
Practice. Character_2
-
Course 4 – Correct Topology for Animation
-
U1
Welcome
-
Welcome
-
-
U2
How to create eyes and teeth in a character
-
How to create eyes and teeth in a character
-
-
U3
Fundamentals in topology for characters
-
Fundamentals in topology for characters
-
-
U4
Previous guidelines for animation topology
-
Previous guidelines for animation topology
-
-
U5
Use Live and quad draw to retopologize
-
Use Live and quad draw to retopologize
-
-
U6
Topology on the body, trunk, legs and arms
-
Topology on the body, trunk, legs and arms
-
-
U7
Topology in the hands
-
Topology in the hands
-
-
U8
Facial topology: colors for zones
-
Facial topology: colors for zones
-
-
U9
Practice
-
Practice
-
Course 5 – UVs: Displaying and Understanding
-
U1
Welcome
-
Welcome
-
-
U2
The Pipeline is fundamental
-
The Pipeline is fundamental
-
-
U3
What are UVs?
-
What are UVs?
-
-
U4
UV editor: tools
-
UV editor: tools
-
-
U5
Unfold UVs
-
Unfold Uvs
-
-
U6
Where to make UV cuts
-
Where to make UV cuts
-
-
U7
UVs spaces. Checker map
-
UVs spaces. Checker map
-
-
U8
Practice: UVs of a character
-
Practice: UVs of a character
-
Course 6 – Render and Facial Expressions
-
U1
Welcome
-
Welcome
-
-
U2
Lights
-
Lights
-
-
U3
First render
-
First render
-
-
U4
Different textures and apply them in the Hypershade
-
Different textures and apply them in the Hypershade
-
-
U5
What is a blendshape
-
What is a blendshape
-
-
U6
Prepare the geometry for blendshapes. Cut head
-
Prepare the geometry for blendshapes. Cut head
-
-
U7
Basic blendshapes facial. What moves in an expression?
-
Basic blendshapes facial. What moves in an expression?
-
-
U8
Make eyes-closed blendshape
-
Make eyes-closed blendshape
-
-
U9
Practice
-
Practice
-
See the content of the 6 courses
About Domestika Basics
Domestika Basics is a series of courses focused on teaching the most commonly used software by creative professionals worldwide.
The content has been meticulously curated and is intended for both students going into a new creative field and more experienced professionals who want to polish their skills.
Learn with the best Domestika teachers through practical lessons, tons of resources, and a progressive difficulty that'll allow you to see results from day one.
Domestika Basics will allow you to step up your professional game and be prepared to score better projects.
-
Without prior knowledge.
Domestika Basics gives you everything you need to get started in a new creative field and become an expert in it.
-
Focused on the tool.
Discover its main components, techniques, and the tried-and-true methods you need to master it.
-
Learn fast
With a straightforward, step-by-step approach, our outstanding professionals will teach you how to get the most out of the program.
-
Certificates Plus
If you're a Plus member, get a custom certificate signed by your teacher for every course. Share it on your portfolio, social media, or wherever you like.




japo1396
Muy buen curso si es que quieres aprender a manejar el programa, excelente explicación
View translation
Hide translation
rocioantolini15
Este curso fue intesesante para aprender lo mas basico y lo mas avanzado.
View translation
Hide translation
contacto_alan95
Se me hizo buen curso, creo que si explica los fundamentos de Maya y aborda 2 que 3 cosas practicas interesantes, lo único quizá es que me hubiera gustado que explicara las practicas en lugar de hacer una especie de timelapse, pero bueno de ahí en fuera creo que esta muy bien
View translation
Hide translation
Kaueoliveira
El profe sabe mucho pero la didáctica lo agradecería si fuera un poco mejor. Como por ejemplo, repetir, decir los pasos que hace, menos velocidad (no asumir que si ya dicho algo en 5 videos atrás el alumno va recordar: decir lo que hace es siempre es fundamental para que el alumno-a pueda seguir el contenido).
Si el alumno ya tiene un nivel, bien; pero si es como yo que no sé nada de 3D percibirá mucha prisa. Por un lado entiendo, mucho contenido por otro no.
View translation
Hide translation
luisangelot
maya es uno de los mejores programas del mercado, el curso es muy entretenido
View translation
Hide translation