ArchViz from Scratch with 3ds Max and Corona Renderer
By Gustavo Correa , Architect
Master the software and learn how to create hyperrealistic images through object modeling and spatial lighting
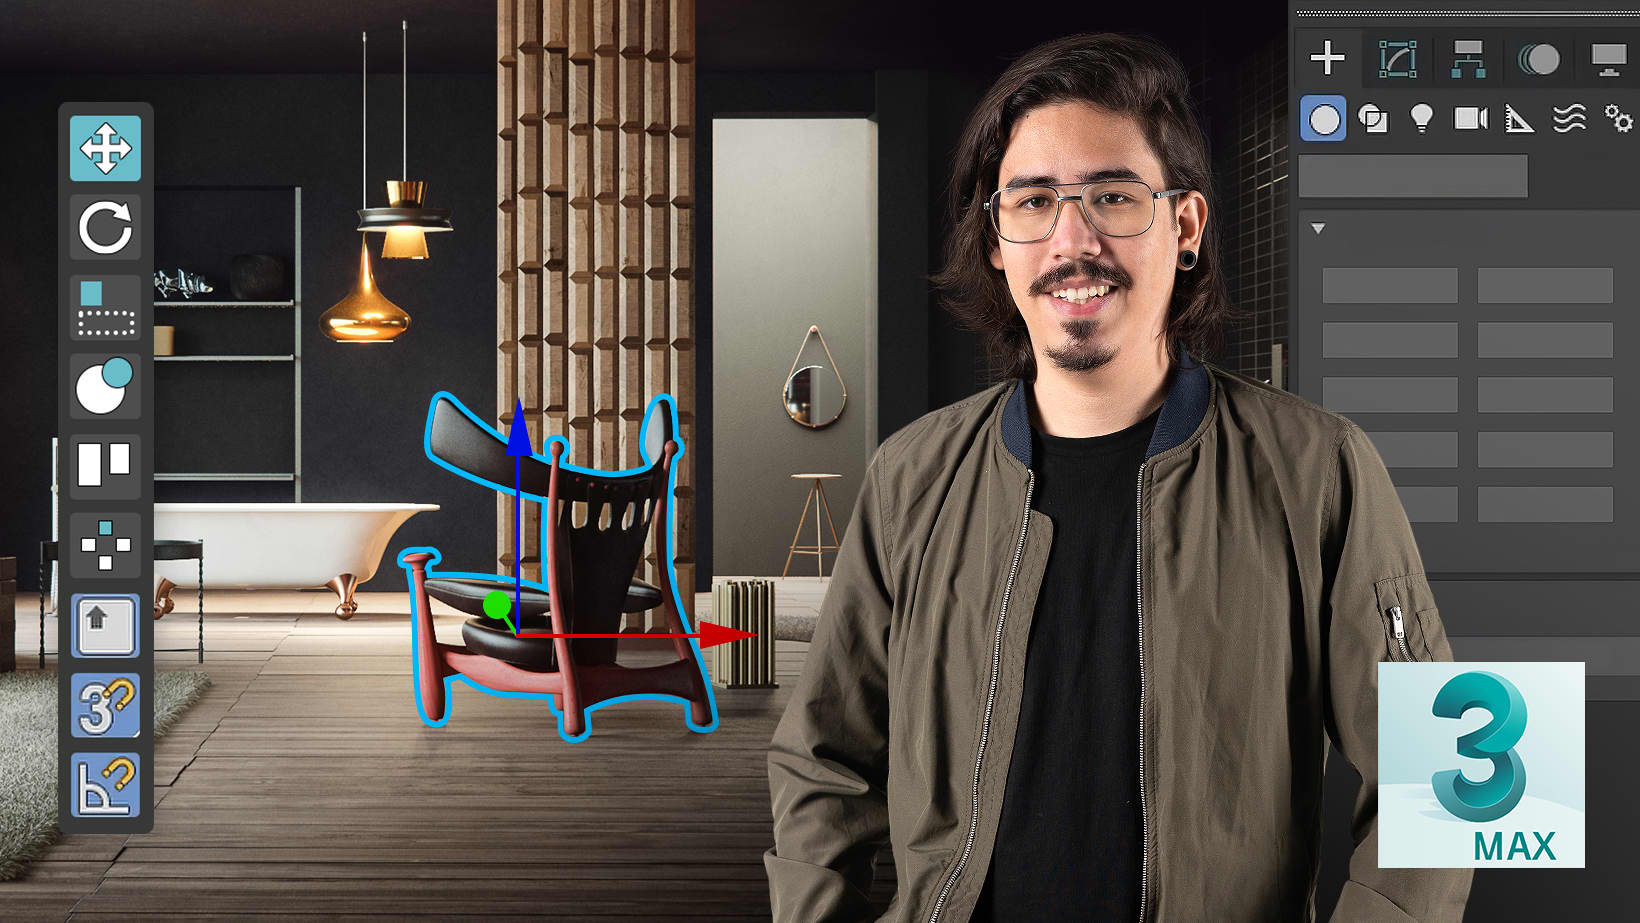
Master the software and learn how to create hyperrealistic images through object modeling and spatial lighting
Domestika Basics · 5 courses included
-
Course 1: Introduction to 3ds Max
By Gustavo Correa
Navigate the interface and discover how to arrange the assets you will need to equip your scene
-
Course 2: Modeling the Architectural Project
By Gustavo Correa
Learn how to model the different interior and exterior elements of your scene
-
Course 3: Creating Materials with Corona Renderer
By Gustavo Correa
Create and combine metallic, non-metallic, translucent, and self-illuminated materials
-
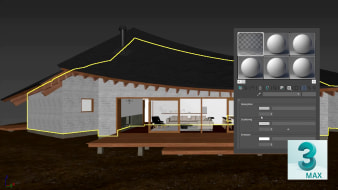
Course 4: Cameras and Lighting
By Gustavo Correa
Discover the different effects you can achieve by playing with the light and mood
-
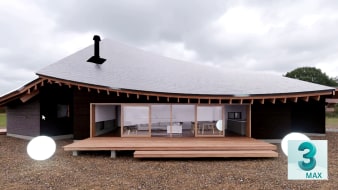
Course 5: Rendering
By Gustavo Correa
Edit the last details in the post production software and give life to your 3D scene
When architect Gustavo Correa first took interest in the world of 3D, he decided to opt for a software that would open doors to different creative areas and discovered the true power of 3ds Max. This software is one of the most complete and professional tools for ArchViz projects, thanks to its intuitive tools, hyperrealistic aesthetics, and the possibility of connecting it with other programs such as AutoCAD, SketchUp, or Revit.
In this 5-course Domestika Basics, learn how to use 3ds Max from scratch and achieve professional-level architectural visualizations with Corona Renderer.
Start by learning how to install and set up 3ds Max. Get to know the interface, keyboard shortcuts, how to import files, and the creation panel. Quickly discover why this software is one of the most used for digital image creation.
Modeling is the main topic of the second course. Familiarize yourself with the modifiers that 3ds Max has and begin modeling your final project, paying attention to details like furniture and vegetation, to optimizing geometry.
Then, work on the different materials in the scene. Discover the philosophy behind physically accurate materials and learn how to make them work under different light conditions as they would in real life.
In the fourth course, experiment with lighting, something essential to achieving a successful image. See how to create cameras, explore the different types of lighting, and the different atmospheric effects you can achieve.
Finally, Gustavo explains what a rendering engine is. He goes through how it works together with 3D software to read shapes and obtain images that are interpreted through light and color. He shows you some examples of his work and images created by people he admires.
Technical requirements
- ⦁ Microsoft Windows 7 (SP1), Windows 8, Windows 8.1, or Windows 10 Professional.
⦁ Intel or AMD 64-bit multicore processor with the SSE4.2 instruction set.
⦁ 4 GB RAM minimum (8 GB or more recommended).
⦁ 9 GB of free disk space for installation.
⦁ See 3DS Max Certified Hardware for a detailed list of recommended graphics cards and systems.
⦁ A three-button mouse.
- 97% positive reviews (479)
- 17,459 students
- 58 lessons (11h 6m)
- 5 courses
- 57 downloads (11 files)
- Online and at your own pace
- Available on the app
- Audio: Spanish
- Spanish · English · Portuguese · German · Italian · French · Polish · Dutch
- Level: Beginner
- Unlimited access forever
Reviews

Colombian-born Gustavo Correa is an architect who specializes in ArchViz projects, with over six years of experience in the field. His passion for the visual arts led him to experiment and explore different tools for creating computer graphics and applying them to architectural projects.
Currently, he is a 3D artist for Neoscape, one of the largest ArchViz companies in the world, and the founder of ArmyOne, his own ArchViz related project. Through personal projects, he has been able to materialize some of the ideas he has had for several years and solidified his style as an artist.
Content
Course 1: Introduction to 3ds Max
-
U1
Welcome
-
Welcome
-
-
U2
3ds Max Installation and Basic Configuration
-
3ds Max Installation and Basic Configuration
-
-
U3
Introduction to the 3ds Max Interface
-
Introduction to the 3ds Max Interface
-
-
U4
System and Measure Units in 3ds Max
-
System and Measure Units in 3ds Max
-
-
U5
Navigation and Keyboard Shortcuts
-
Navigation and Keyboard Shortcuts
-
-
U6
Panel Creation
-
Panel Creation
-
-
U7
Import and Export Files in 3ds MAX
-
Import and Export Files in 3ds MAX
-
-
U8
Common mistakes
-
Common mistakes
-
-
U9
Practice: Search and organize assets
-
Practice: Finding and organizing Assets
-
Course 2: Modeling the Architectural Project
-
U1
Modifiers in 3ds Max
-
Modifiers in 3ds Max
-
-
U2
Corona Render Installation
-
Corona Render Installation
-
-
U3
Architecture modeling - Folder management and inserting images of our plans
-
Architecture modeling - Folder management and inserting images of our plans
-
-
U4
Architecture modeling - Walls
-
Architecture modeling - Walls
-
-
U5
Architecture modeling - Roofs
-
Architecture modeling - Roofs
-
-
U6
Let's start ordering our layers!
-
Let's start ordering our layers!
-
-
U7
Edit Poly
-
Edit Poly 1
-
Edit Poly 2
-
Edit Poly 3
-
-
U8
Architecture modeling - Floors
-
Architecture modeling - Floors 1
-
Architecture modeling - Floors 2
-
-
U9
Terrain modeling
-
Terrain modeling
-
-
U10
Fixed furniture modeling
-
Fixed furniture modeling
-
-
U11
Woodwork modeling
-
Woodwork Modeling 1
-
Woodwork modeling 2
-
-
U12
Import Vegetation / Create Corona Proxies
-
Import Vegetation / Create Corona Proxies
-
-
U13
Random Vegetation Distribution
-
Random vegetation distribution 1
-
Random vegetation distribution 2
-
-
U14
Practice: Modeling in 3ds Max
-
Practice: Modeling in 3ds Max 1
-
Practice: Modeling in 3ds Max 2
-
Course 3: Creating Materials with Corona Renderer
-
U1
Philosophy Behind Physically Correct Materials
-
Philosophy Behind Physically Correct Materials
-
-
U2
Uvmap Mapping To Geometries
-
Uvmap Mapping To Geometries
-
-
U3
Set up a basic scene for testing materials
-
Set up a basic scene for testing materials
-
-
U4
Non-metallic Materials
-
Non-Metallic Materials 1
-
Non-Metallic Materials 2
-
-
U5
Metallic Materials
-
Metallic Materials
-
-
U6
Translucent Materials
-
Translucent Materials
-
-
U7
Self-illuminated Materials
-
Self-illuminated Materials
-
-
U8
Combine Materials (Corona Layered MTL)
-
Combine Materials (Corona Layered MTL)
-
-
U9
Corona MultiMap (Corona LayeredMTL)
-
Corona MultiMap (Corona LayeredMTL)
-
-
U10
Multi-Sub / Object Material
-
Multi-Sub / Object Material
-
-
U11
Corona Material Library
-
Corona Material Library
-
-
U12
Practice: Creating Materials With Corona Renderer
-
Practice: Creating Materials With Corona Renderer 1
-
Practice: Creating materials with Corona Renderer 2
-
Course 4: Cameras and Lighting
-
U1
Photography and cameras by Corona Renderer
-
Photography and cameras by Corona Renderer 1
-
Corona Renderer 2 photography and cameras
-
-
U2
Corona Renderer Lights - Corona Light
-
Corona Renderer Lights - Corona Light
-
-
U3
Corona Renderer Lights - Corona Sun and Corona Sky
-
Corona Renderer Lights - Corona Sun and Corona Sky
-
-
U4
Image Based Lighting (HDRI)
-
Image Based Lighting (HDRI)
-
-
U5
Atmospheric Effect - Environment Fog
-
Atmospheric Effect - Environment Fog
-
-
U6
Practice: Creating Cameras and Lighting
-
Practice: Creating Cameras and Lighting 1
-
Practice: Creating Cameras and Lighting 2
-
Course 5: Rendering
-
U1
Corona Renderer Settings
-
Corona Renderer Settings
-
-
U2
Render Elements
-
Render Elements
-
-
U3
Asset Management - Relink Bitmaps and Collet Asset
-
Asset Management - Relink Bitmaps and Collet Asset
-
-
U4
Corona's LightMix
-
Corona's LightMix
-
-
U5
Render images, save them & Resume Render
-
Render images, save them & Resume Render
-
-
U6
Common Errors - General Optimizations
-
Common Errors - General Optimizations
-
-
U7
Practice: Rendering Our Project
-
Practice: Rendering of our project
-
See the content of the 5 courses
About Domestika Basics
Domestika Basics is a series of courses focused on teaching the most commonly used software by creative professionals worldwide.
The content has been meticulously curated and is intended for both students going into a new creative field and more experienced professionals who want to polish their skills.
Learn with the best Domestika teachers through practical lessons, tons of resources, and a progressive difficulty that'll allow you to see results from day one.
Domestika Basics will allow you to step up your professional game and be prepared to score better projects.
-
Without prior knowledge.
Domestika Basics gives you everything you need to get started in a new creative field and become an expert in it.
-
Focused on the tool.
Discover its main components, techniques, and the tried-and-true methods you need to master it.
-
Learn fast
With a straightforward, step-by-step approach, our outstanding professionals will teach you how to get the most out of the program.
-
Certificates Plus
If you're a Plus member, get a custom certificate signed by your teacher for every course. Share it on your portfolio, social media, or wherever you like.

cr.ascencios
excelente curso!!
View translation
Hide translation
arqenriquemedina
Es excelente, la verdad me dió todas las nociones necesarias para indicarme en el usos de 3Dmax! 🫡
View translation
Hide translation
fernandoosorio01
Muy buen curso explica con mucho detalle
View translation
Hide translation
gabriela_b_1104
Es bueno y el profesor explica detalladamente cada una de las funciones del programa
View translation
Hide translation
sam_oc
Un curso bastante completo considerando lo facil que es acceder a el. Las explicaciones son un poco rápidas pero detalladas lo que permite no sentirse abrumado o estancado. La calidad de audio y vídeo es decente, la edición con colores para guiarse en la explicación de la interfaz es un buen recurso.
Recomiendo el curso totalmente
View translation
Hide translation